Aim Lab & KovaaK's Sensitivity Guide
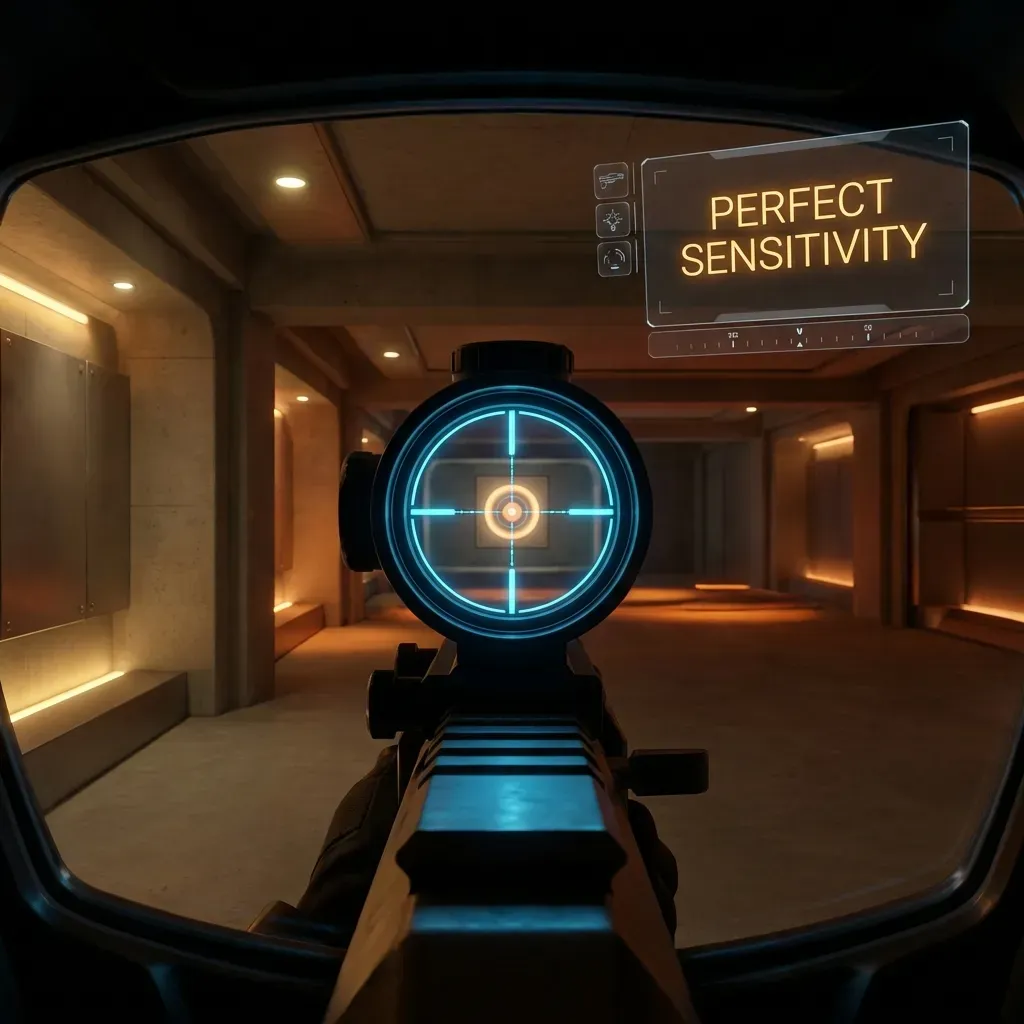
Why Your Aim Trainer Sensitivity MUST Match Your Game
The entire value of aim training is building muscle memory. If your aim trainer sensitivity doesn't match your game exactly, you are training the wrong movements. Every hour in Aim Lab at the wrong sensitivity is an hour spent building habits that won't transfer to Valorant or CS2.
This is the #1 mistake mid-rank players make: they grind Aim Lab for hours, see their in-trainer scores improve, but their in-game performance doesn't budge. The reason is almost always a sensitivity mismatch.
Aim Lab: How to Match Your Game Sensitivity
Aim Lab's Sensitivity System
Aim Lab uses its own sensitivity scale. It does NOT use the same number as your game sensitivity. However, Aim Lab has built-in game profiles that translate your game sensitivity automatically.
Step-by-Step for Valorant Players
- Open Aim Lab → Settings → Sensitivity
- Select "Game Sensitivity" instead of "Aim Lab Sensitivity"
- In the Game dropdown, select "Valorant"
- Enter your Valorant in-game sensitivity (e.g., 0.35)
- Enter your DPI (e.g., 800)
- Aim Lab calculates the correct internal sensitivity automatically
- Verify: Your cm/360 shown in Aim Lab should match our converter output
Step-by-Step for CS2 Players
- Aim Lab Settings → Sensitivity → Game Sensitivity
- Select "CS:GO / CS2"
- Enter your sensitivity and DPI
- Aim Lab syncs automatically
Pro tip: Aim Lab's sensitivity profile system supports 100+ games. If your game isn't listed, use our converter to find the Aim Lab universal sensitivity equivalent:
KovaaK's Sensitivity Matching
Finding Your KovaaK's Sensitivity
KovaaK's uses a raw sensitivity value directly based on your DPI and in-game sens. The conversion formula:
Or use the method in KovaaK's Settings → Mouse → "Copy from game" — it has built-in profiles for most FPS titles.
Best Aim Trainer Scenarios for Each Game
For Valorant
Valorant requires flicking + micro-adjustment precision. The most effective scenarios:
- 1wall6targets_pasu (Aim Lab): For entry peek angles — small targets at close range
- Rasp3 Voltaic (KovaaK's): For clicking precision across a wider spread
- Smoothbot (Aim Lab): For tracking duelist agents like Jett and Neon
- Gridshot Ultimate (Aim Lab): For general reaction time and flicking
For CS2
CS2 rewards spray control + precise first-bullet accuracy:
- Close Fast Strafes (KovaaK's): Simulates CS's fast peeking meta
- Thin Gauntlet (Aim Lab): For simulating long-distance deagle shots
- Motion Track Easy (Aim Lab): For rifling while enemies move at medium range
For Apex Legends
Apex is primarily tracking. Focus on:
- Tile Frenzy (Aim Lab): Develops clicking speed needed for Apex's pace
- Precise Tracking (KovaaK's Voltaic benchmark): For consistent tracking at range
- VT Target Chaos (KovaaK's): Simulates multiple Apex enemies appearing simultaneously
How Much Should You Train?
Research on skill acquisition suggests aim training is most effective at 20–30 focused minutes per session, not 3-hour marathon sessions. Professional players like TenZ (Sentinels) have stated they warm up with 15–20 minutes of aim trainer before ranked play — not for hours at a time.
| Session Type | Duration | Purpose |
|---|---|---|
| Pre-game warmup | 15–20 min | Activate existing muscle memory |
| Skill development | 30–45 min | Build new aim patterns (deliberate practice) |
| Benchmark session | 20–30 min | Measure progress with consistent scenarios |
The Key Principle: Sensitivity Must Be Identical
Everything else in this guide is secondary to this: your aim trainer cm/360 MUST match your game cm/360 exactly. No exceptions. Use our DCPROSENS converter to get your exact game sensitivity, then verify it matches what Aim Lab or KovaaK's shows you. If it doesn't match, your training is not transferring.
Mathematical Mechanics & Engine Formulas
Understanding aim physics requires breaking down how rendering engines calculate rotation vectors. In 3D space, mouse movement inputs map to angular rotation per count based on the game engine's specific yaw constant:
• CS2 / Source Engine Yaw Constant: 0.022° per count
• Apex Legends Yaw Constant: 0.022° per count
• Overwatch 2 Yaw Constant: 0.0066° per count
• Fortnite Yaw Constant: 0.005555° per count
• Formula: eDPI = Hardware DPI × In-Game Sensitivity
• Formula: cm/360 = (360 × 2.54) / (DPI × Sensitivity × Yaw)
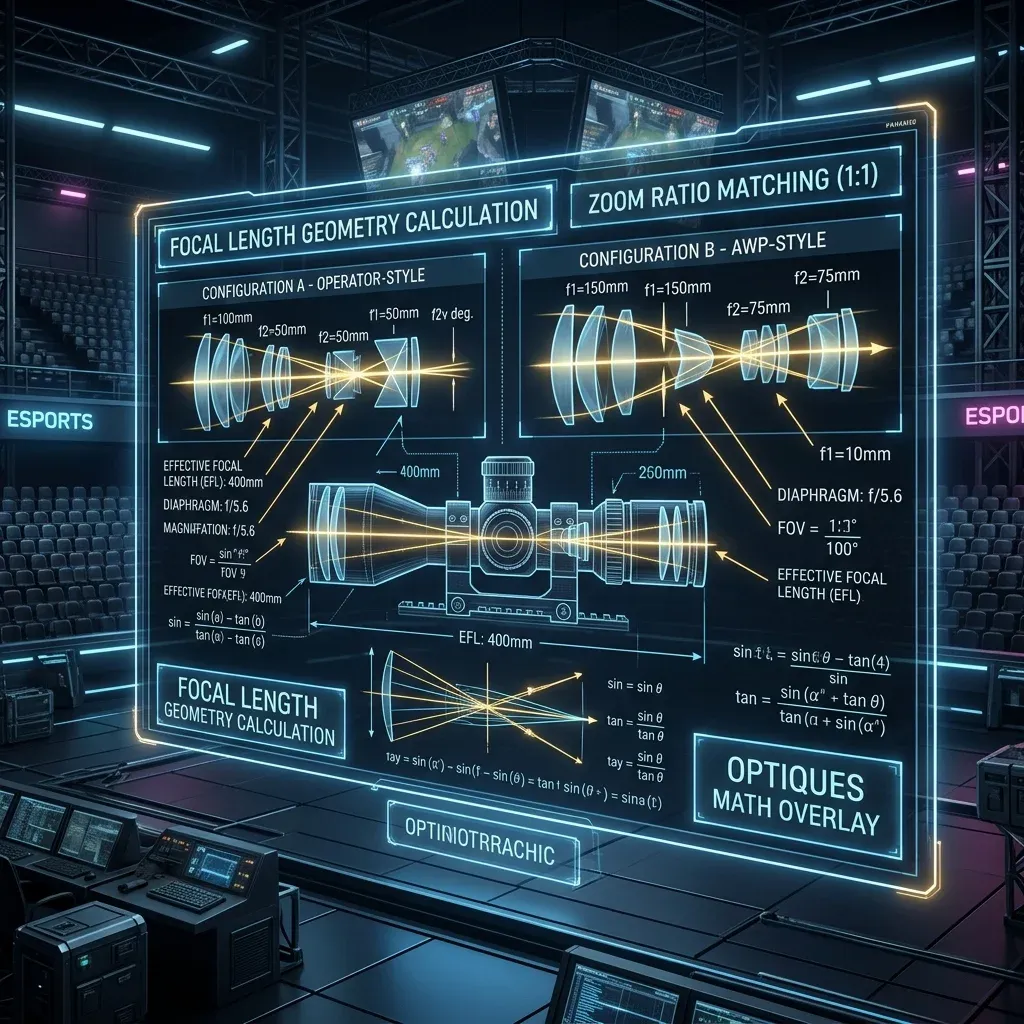
By keeping your physical centimeters per 360 rotation (cm/360) consistent, you maintain identical physical hand travel across titles. However, when switching between different aspect ratios (16:9 vs 4:3 stretched) or vertical FOVs, you must apply 0% Monitor Distance Matching (Focal Length Scaling) to match optical tracking speed at screen center.
Esports Meta & Pro Player Benchmark Data
Looking at publicly available pro settings and general esports sensitivity trends:
- Tactical Shooters (Valorant / CS2): The median pro eDPI sits between 200 and 320 eDPI (approx. 40cm/360 to 65cm/360). Pro players prefer lower sensitivity to maximize micro-correction accuracy and first-bullet headshot precision.
- Tracking & Dynamic Shooters (Apex / OW2 / Fortnite): The median pro eDPI ranges from 2400 to 4800 eDPI in Source/OW2 terms (approx. 28cm/360 to 38cm/360). Higher sensitivity allows rapid 180° sweeps and smooth target tracking during erratic movement.
Step-by-Step Calibration & Actionable Implementation
- Disable Windows Mouse Acceleration: Open Windows Control Panel → Mouse Properties → Pointer Options → Uncheck "Enhance Pointer Precision". This ensures 1:1 raw input without non-linear velocity scaling.
- Set Native Mouse DPI: Use 800 or 1600 DPI on modern optical sensors (PMW3395 / HERO 25K) to minimize sensor input latency by up to 2.5ms compared to 400 DPI while avoiding sensor smoothing.
- Calibrate Desk Space: Ensure your mousepad offers at least 450mm × 400mm of dynamic space. Your cm/360 should allow a full 180° turn from center to pad edge without lifting.
- Verify in Aim Trainers: Benchmark your target acquisition in KovaaK's or Aim Lab (Gridshot / Microflex) for 15 minutes to confirm zero overshoot or undershoot before entering ranked queues.
Frequently Asked Questions (FAQ)
Is higher DPI always better for aim?
Higher DPI (such as 1600 DPI) reduces input latency because the sensor sends motion packets more frequently per millimeter. However, going above 3200 DPI can introduce unwanted sensor noise or smoothing on certain optical sensors.
Should I match my hipfire sensitivity to my ADS sensitivity?
Yes! Utilizing 1:1 focal matching (0.847 in Valorant, 1.0 in CS2/Apex) aligns your focal muscle memory between hipfire aiming and scoped targeting.
🎯 Lock In Perfect 1:1 Aim & Pro Consistency
Tired of daily aim inconsistency? Calibrate your physical cm/360, scope matching, and sensor latency. Get the complete Precision Aim System (4-Part Technical Manifestos) today for only $9.00 USD!
Unlock Elite Precision ($9) ⚡Dalto Outlier
Creator, DCPROSENSDalto built DCPROSENS to help competitive FPS players convert sensitivity, calibrate DPI, and keep their aim consistent across games.