Best FPS Keyboard Keybinds Guide
Why Default Keybinds Fail
Game developers map default controls to be intuitive for absolute beginners, not efficient for competitive players. For example, assigning basic abilities to keys that require taking your fingers off WASD means you cannot move and use abilities simultaneously. In high-level play, stopping your movement to pull out a grenade is a death sentence.
The Principle of Finger Independence
The goal of optimal keybinds is to ensure your index, middle, and ring fingers rarely have to leave the D, W, and A keys. Your thumb (Spacebar, Alt, C, V, Mouse buttons) and pinky (Shift, Ctrl, Caps Lock) should handle the majority of utility and auxiliary actions.
Optimal Keybind Setup for Valorant / CS2
| Action | Recommended Key | Reasoning |
|---|---|---|
| Jump | Mouse Wheel Down | Essential for bunny hopping and precise movement timing. Keep Spacebar as secondary jump. |
| Crouch | Left Ctrl or C | Pinky or thumb access. Many pros prefer thumb (C) to avoid pinky fatigue. |
| Walk / Sneak | Left Shift | Standard pinky resting position. |
| Primary Ability / Flash | Mouse Button 4/5 | Allows you to prep and throw flashes without taking fingers off WASD. |
| Secondary Abilities | Q, E, F | Close to WASD for quick taps when moving isn't as critical. |
| Push to Talk | V or Alt | Thumb access ensures you can communicate mid-gunfight without stopping movement. |
The ESDF Alternative
Some advanced players shift their movement cluster from WASD to ESDF. This opens up Q, W, A, Z, and Shift as highly accessible hotkeys for the pinky and ring finger, effectively adding 3-4 easy-to-reach buttons to your setup. While the transition takes a week of uncomfortable muscle memory retraining, it provides a measurable advantage in macro-heavy games like MMO-shooters or Fortnite.
Mouse Buttons: Use With Caution
Binding actions to side mouse buttons (Mouse 4 and 5) is great for utility, but never bind actions to your mouse buttons that you need to press while actively shooting. Pressing side buttons alters your mouse grip slightly, which can disrupt your spray control and micro-adjustments. Use them for prep (pulling out a flash) but not combat (like crouch or jump).
Optimize your aim with our eDPI calculator to ensure your tracking is as efficient as your new keybinds.
Mathematical Mechanics & Engine Formulas
Understanding aim physics requires breaking down how rendering engines calculate rotation vectors. In 3D space, mouse movement inputs map to angular rotation per count based on the game engine's specific yaw constant:
• CS2 / Source Engine Yaw Constant: 0.022° per count
• Apex Legends Yaw Constant: 0.022° per count
• Overwatch 2 Yaw Constant: 0.0066° per count
• Fortnite Yaw Constant: 0.005555° per count
• Formula: eDPI = Hardware DPI × In-Game Sensitivity
• Formula: cm/360 = (360 × 2.54) / (DPI × Sensitivity × Yaw)
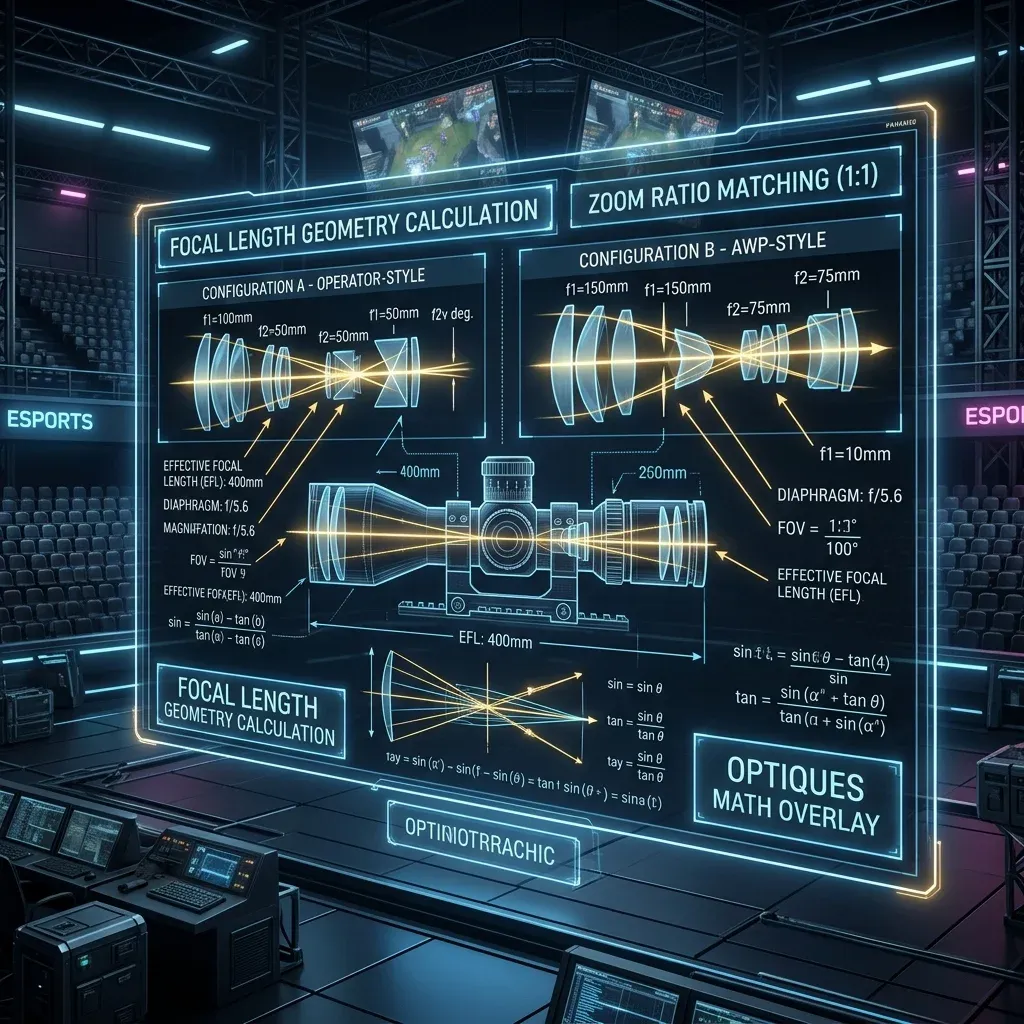
By keeping your physical centimeters per 360 rotation (cm/360) consistent, you maintain identical physical hand travel across titles. However, when switching between different aspect ratios (16:9 vs 4:3 stretched) or vertical FOVs, you must apply 0% Monitor Distance Matching (Focal Length Scaling) to match optical tracking speed at screen center.
Esports Meta & Pro Player Benchmark Data
Looking at publicly available pro settings and general esports sensitivity trends:
- Tactical Shooters (Valorant / CS2): The median pro eDPI sits between 200 and 320 eDPI (approx. 40cm/360 to 65cm/360). Pro players prefer lower sensitivity to maximize micro-correction accuracy and first-bullet headshot precision.
- Tracking & Dynamic Shooters (Apex / OW2 / Fortnite): The median pro eDPI ranges from 2400 to 4800 eDPI in Source/OW2 terms (approx. 28cm/360 to 38cm/360). Higher sensitivity allows rapid 180° sweeps and smooth target tracking during erratic movement.
Step-by-Step Calibration & Actionable Implementation
- Disable Windows Mouse Acceleration: Open Windows Control Panel → Mouse Properties → Pointer Options → Uncheck "Enhance Pointer Precision". This ensures 1:1 raw input without non-linear velocity scaling.
- Set Native Mouse DPI: Use 800 or 1600 DPI on modern optical sensors (PMW3395 / HERO 25K) to minimize sensor input latency by up to 2.5ms compared to 400 DPI while avoiding sensor smoothing.
- Calibrate Desk Space: Ensure your mousepad offers at least 450mm × 400mm of dynamic space. Your cm/360 should allow a full 180° turn from center to pad edge without lifting.
- Verify in Aim Trainers: Benchmark your target acquisition in KovaaK's or Aim Lab (Gridshot / Microflex) for 15 minutes to confirm zero overshoot or undershoot before entering ranked queues.
Frequently Asked Questions (FAQ)
Is higher DPI always better for aim?
Higher DPI (such as 1600 DPI) reduces input latency because the sensor sends motion packets more frequently per millimeter. However, going above 3200 DPI can introduce unwanted sensor noise or smoothing on certain optical sensors.
Should I match my hipfire sensitivity to my ADS sensitivity?
Yes! Utilizing 1:1 focal matching (0.847 in Valorant, 1.0 in CS2/Apex) aligns your focal muscle memory between hipfire aiming and scoped targeting.
Teclado Analógico Recomendado
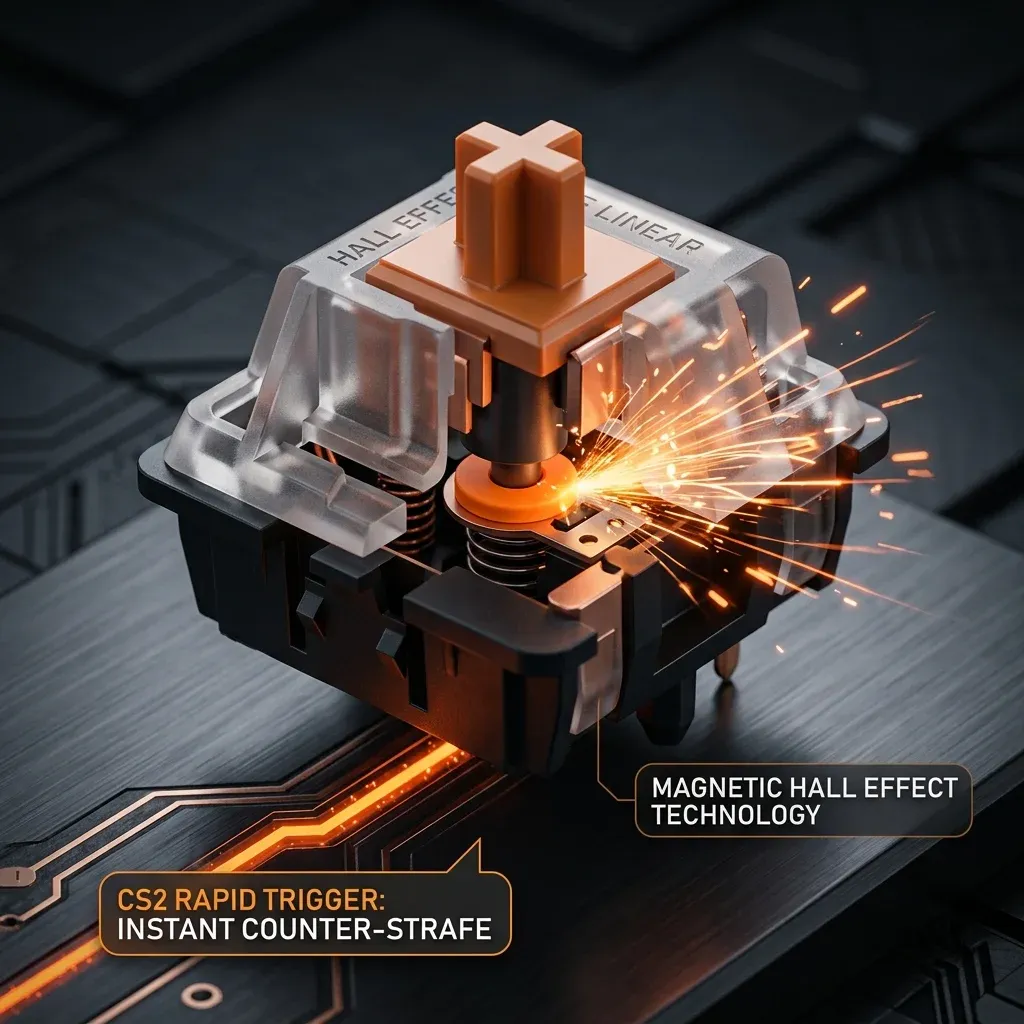
Para atirar com precisão milimétrica e parar de andar instantaneamente (Counter-Strafe), o recurso de **Rapid Trigger** magnético é indispensável no cenário competitivo:
Razer Huntsman V3 Pro TKL / Wooting 60HE
Teclado analógico magnético de última geração que ativa e reseta teclas ao menor sinal de toque físico. Recomendação definitiva do cenário profissional de Valorant e CS2.
🎯 Lock In Perfect 1:1 Aim & Pro Consistency
Tired of daily aim inconsistency? Calibrate your physical cm/360, scope matching, and sensor latency. Get the complete Precision Aim System (4-Part Technical Manifestos) today for only $9.00 USD!
Unlock Elite Precision ($9) ⚡Dalto Outlier
Creator, DCPROSENSDalto built DCPROSENS to help competitive FPS players convert sensitivity, calibrate DPI, and keep their aim consistent across games.